
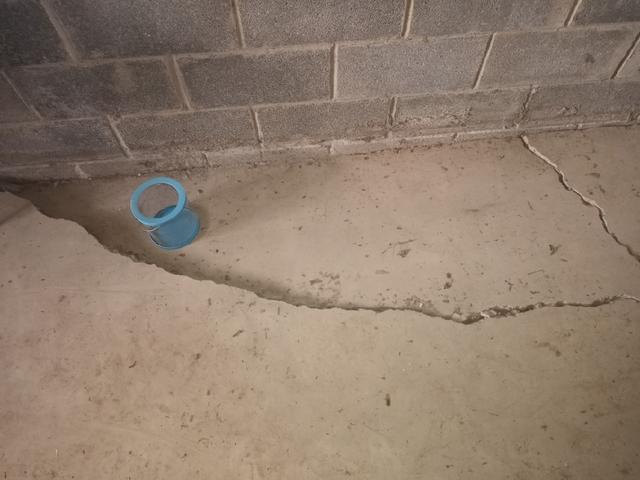
Crack/ Separation on customers concrete floor
Production crew filled and leveled the crack.
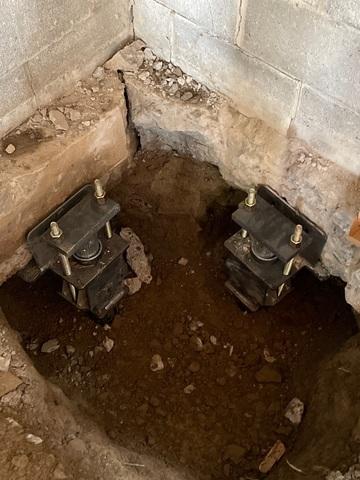
Push Pier Installation
Hole dug through concrete to install Push Piers
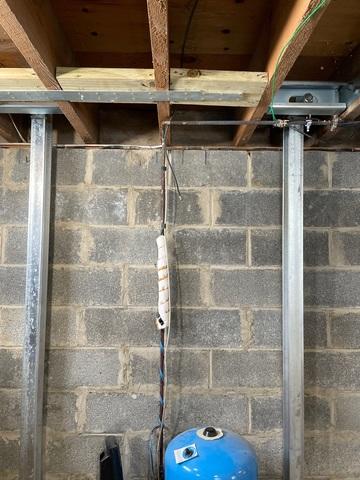
PowerBrace System Installation
Liberty Basement Systems installed custom fit Zinc-plated steel beams to permanently stabilize the foundation. This is done by anchoring brackets to the basement floor and floor joists.

PowerBrace Install
PowerBrace and bracket Installation between joists.
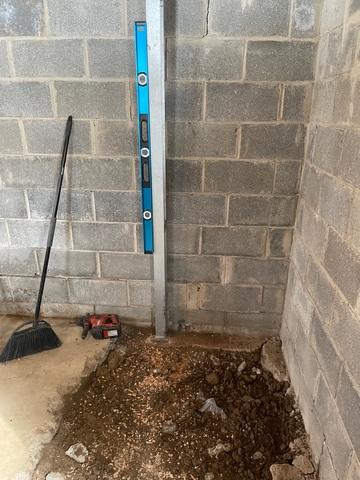
PowerBrace level
Leveling the PowerBrace